
Ever wonder if a little craft project could turn your party into an unforgettable celebration? Imagine whipping up lovely keepsakes out of everyday items you already have.
In this post, we’ll chat about how simple it is to make friendship party favors that add a warm, personal touch to your get-together. We’re talking about everything from fun photo ornaments to quaint wood plaques.
It’s all about creating little treasures that are both fun to make and easy on your budget. So, get ready to brighten up your party while crafting keepsakes that bring you and your pals even closer.
Friendship Celebration Favor Kits: Quick DIY Ideas
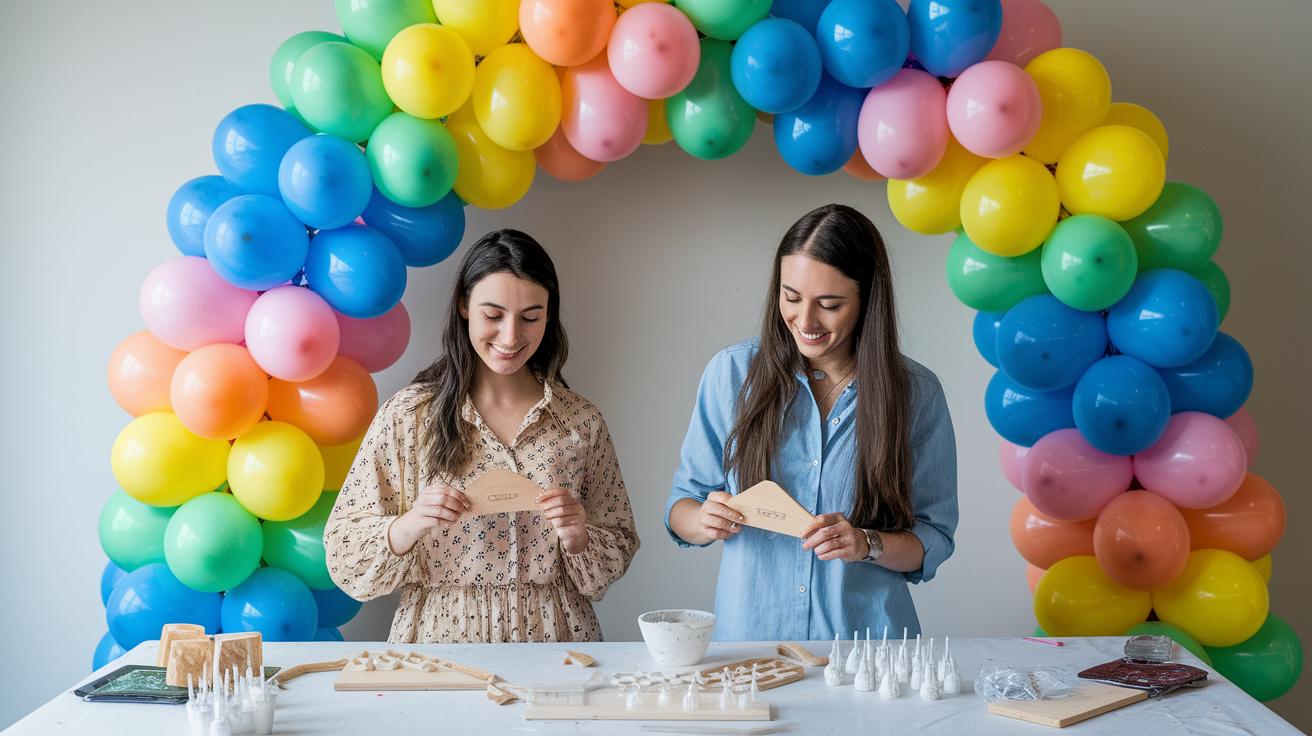
Imagine a fun get-together where making party favors is a breeze. These ready-made DIY kits add a playful twist to any friendship celebration. You can quickly craft sweet keepsakes with everyday items, no complicated steps needed. They even use recycled or repurposed items, making your project both creative and budget-friendly. Some projects, like a balloon arch kit, come together in just about an hour to an hour and a half with a balloon pump and arch tape, pretty handy for those last-minute plans.
- Wood Craft Plaque Kit – Prep Time: 1 hour; Main Parts: a wood blank, a printed design, and decoupage glue.
- Paper Pop-Up Card Kit – Prep Time: 45 minutes; Main Parts: bright paper, stickers, and adhesive.
- Balloon Arch Kit – Prep Time: 1.5 hours; Main Parts: a mix of balloons, a balloon pump, and arch tape.
- Photo Ornament Kit – Prep Time: 50 minutes; Main Parts: printed photos, cardstock, and string or ribbon.
- Felt Doll Kit – Prep Time: 1 hour; Main Parts: felt sheets, fabric glue, and some fun decorative pieces.
Customizing these kits makes your party shine even brighter. With a quick color swap, you can tailor everything to match your party’s vibe, think soft pastels for a spring day or bold colors for a cozy fall meet-up. Even a small tweak with fabric, paper, or your chosen balloons turns each kit into a one-of-a-kind token of friendship that leaves everyone feeling extra-special.
DIY Friend Gift Ideas: Step-by-Step Tutorials for Handmade Mementos
Making handmade gifts for your friends is a delightful way to show you care. With items you probably have around the house and a bit of creativity, you can turn simple bits and pieces into treasures that warm the heart.
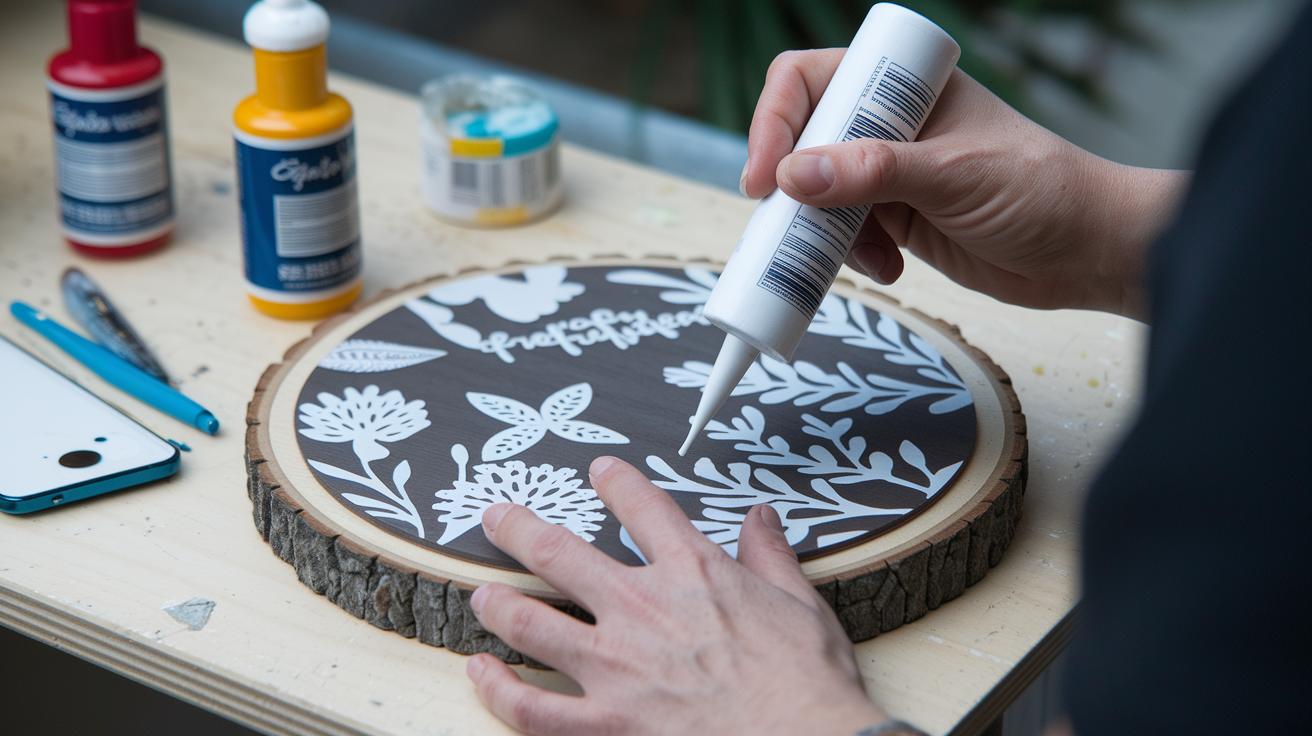
Decoupaged Wood Friendship Plaques
Materials:
- Wood blank (a plain piece of wood)
- Printed design (your chosen picture or pattern)
- Decoupage glue (a special adhesive that dries clear)
- Varnish (a protective finish)
Steps:
- Start by cleaning and smoothing your wood blank until it feels just right.
- Carefully place your printed design on the wood.
- Gently spread a thin, even layer of decoupage glue over the design.
- Let the glue sit for a few minutes before adding another light coat.
- Finally, brush on a layer of varnish to seal your plaque and give it a lasting shine.
Resin Photo Magnets
Supplies:
- Resin kit (includes resin and hardener)
- Silicone molds (flexible molds that make removal easy)
- Printed photos (small pictures that bring back memories)
- Mixing cups
Steps:
- Mix the resin kit components in a mixing cup until the color is even.
- Pour a little bit of resin into each silicone mold.
- Place a tiny printed photo into the resin layer.
- Wait for the resin to fully cure before gently removing the magnet from the mold.
Personalized Felt Pouch Keychains
Items:
- Felt sheets (soft, colorful fabric)
- Key rings (small metal rings to hold your keychain)
- Embroidery floss (thread used for sewing)
Steps:
- Cut your felt sheets into charming pouch shapes.
- Fold the felt to create a little pouch.
- Sew along the edges with your embroidery thread to keep the shape intact.
- Secure the key ring to the pouch firmly.
- Add your personal flair by decorating with scrap designs or a printed touch that means something special.
Mix and match these fun ideas to create unique gift sets that remind your friends of those special moments you share. Imagine the smile on their face when they receive a keychain or plaque made by you, it’s like handing them a tiny piece of your creativity and care.
Creative Craft Projects for Custom Celebration Keepsakes
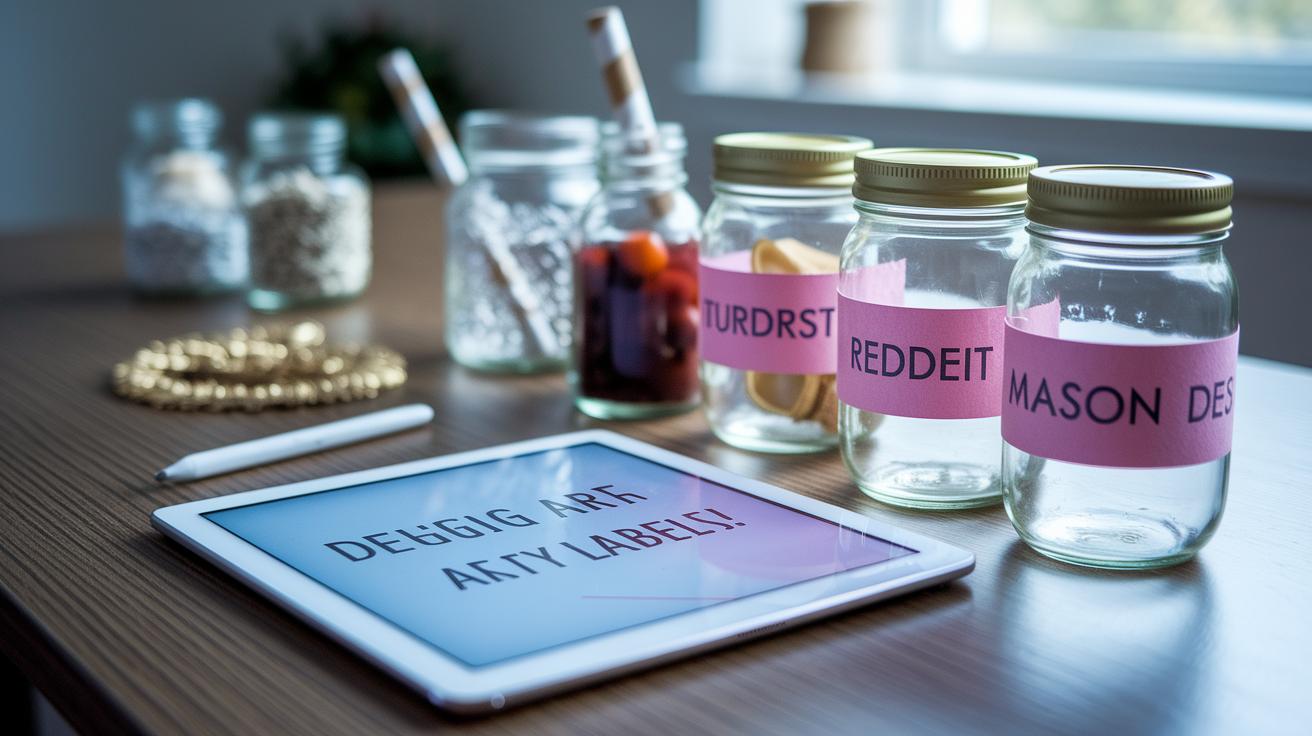
Digital art tools bring a playful twist to designing your party tags and labels. With easy illustration programs, you can whip up printable labels that include names, dates, or even a fun little quote capturing the vibe of your celebration. It’s a neat way to make every keepsake extra special while perfectly matching your party’s colors and style.
Painted Mason Jars
Materials:
- Mason jars (clean and dry)
- Acrylic paint in your favorite colors
- Painter’s tape
- A fine paintbrush
Steps:
- Stick on the painter’s tape to sketch a cool design on the jar.
- Paint over the taped area with a color that makes you smile and let it dry.
- Gently pull off the tape to reveal a crisp, custom line.
- Add a personal touch by writing a name or date in a contrasting color.
Cork Coasters
Supplies:
- Plain cork coasters (round or square)
- Stamping tools like small rubber stamps or simple stencils
- Acrylic paint in matching shades
- A sponge for dabbing on the paint
Steps:
- Pick a design that fits your celebration and set your stencil or stamp on the coaster.
- Dab on the paint with a sponge, keeping it light and clear.
- Lift the tool to leave behind a neat stamped pattern.
- Allow the coaster to dry completely before you add a sealant to lock in the color.
Mixing it up is fun and easy, just swap out your paint shades or try a different stencil to suit any party theme, whether you’re going for soft pastels or vibrant, energetic hues.
Budget-Friendly DIY Hacks for Friendship Party Favors
Finding cheap crafting supplies is a fun way to add a personal twist to your celebration. You can pick up treasures from the dollar store, thrifted jars, or even scrap fabric that feels almost free. It’s like giving each favor a warm hug without spending a lot. And hey, why not toss in some homemade bath salts or sugar scrubs in small tins for that extra cozy touch?
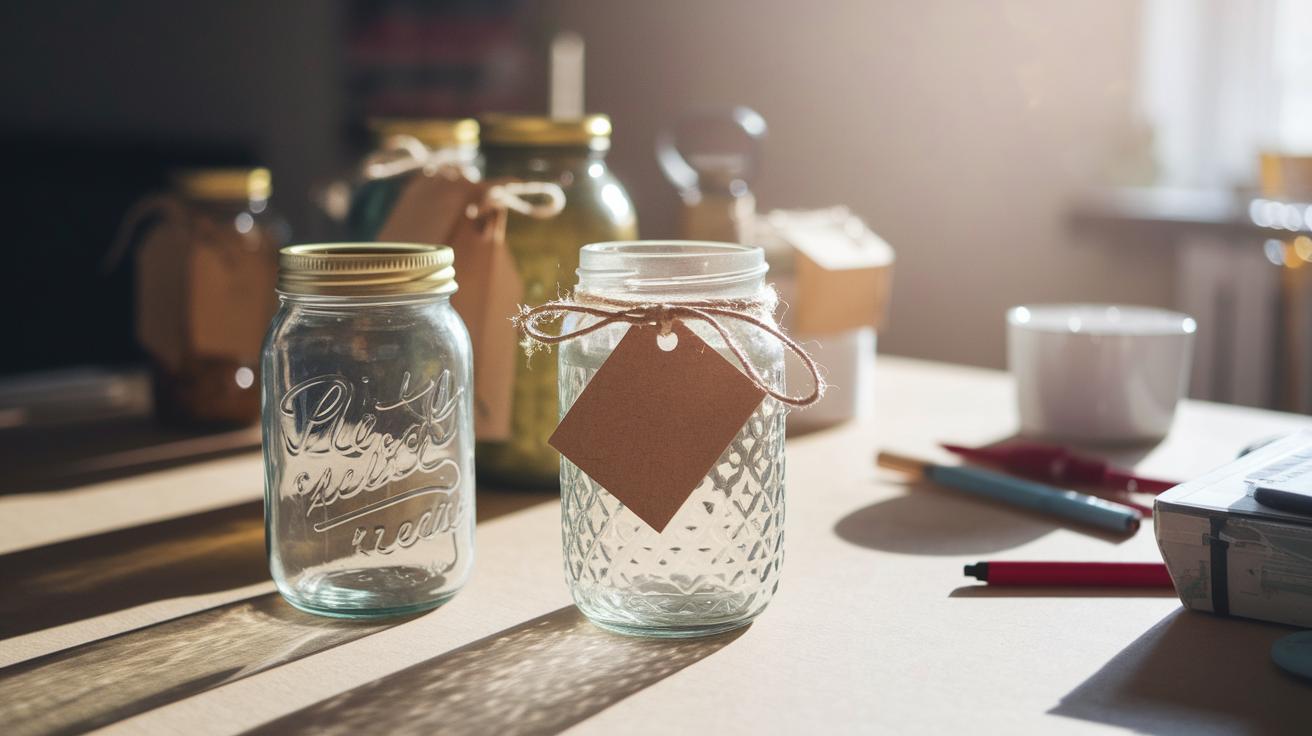
- Upcycled jars – Grab a jar from a thrift shop, give it a good clean, and decorate it with low-cost supplies. It’s perfect for holding candy or a tiny note.
- Printable tags – Use leftover paper and your trusty printer to make cute little tags. They add a heartfelt, personal note to every favor.
- Thrifted linens – Check out clearance finds for fabric or small linens, and turn them into pouch sleeves or soft boxes with a bit of creativity.
- Bulk candy buys – Scoop up sweets in bulk, then split them into little treat bags. It’s a simple trick that packs an extra burst of delight.
- DIY labels – Whip up labels using just a few supplies so that your unique style sparkles through.
- Repurposed containers – Give tin cans or glass bottles a fresh look with a dash of paint or fabric accents, turning them into charming keepsakes.
Mixing these cost-friendly ideas naturally creates a playful, united look. Each favor turns into a sweet reminder of the deep bond you share with your friends.
Themed Favor Sets and Festive Edible Treats for Friendship Parties
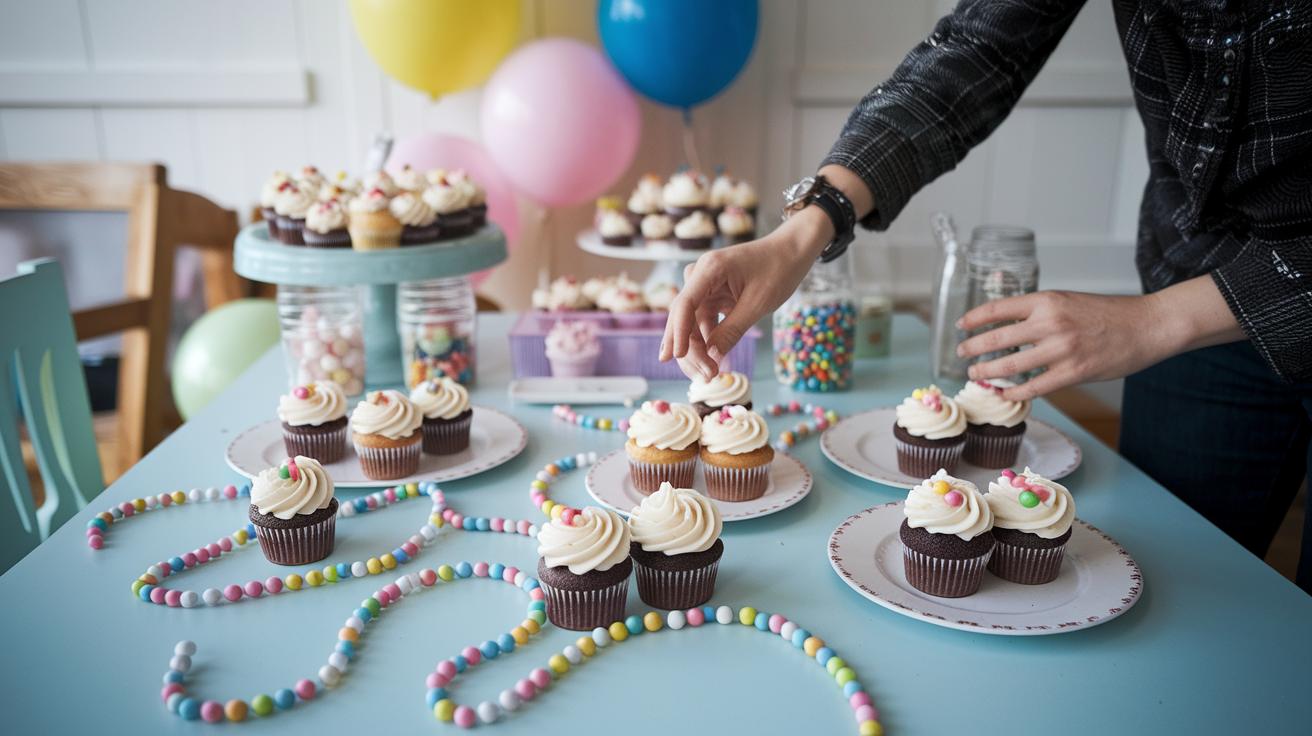
Imagine a party filled with sweet surprises and crafty fun! Whether you're hosting a retro '90s bash, a relaxed movie night, an Earth Day celebration, or a cozy Valentine's get-together, these favor sets blend yummy treats with playful crafts to spread smiles all around.
Edible Treat Bundles
- Start by baking some decorated sugar cookies or assembling candy necklaces. For instance, mix cookie dough, sprinkle in some colorful bits, and top with icing for a fun design.
- Pop your favorite treats into mini cupcake jars so everyone can enjoy a portable burst of delight.
- Add a small printed label with a warm message to let friends know just how much they mean to you.
Complementary Craft Tokens
- Pair each edible bundle with a mini friendship bracelet or a quirky keychain.
- Use cheerful threads or tiny charms that match your vibe, maybe soft pastels or bold neon colors.
- Secure the little token to the treat pack to give every favor a heartfelt, personal touch.
| Treat Type | Estimated Cost |
|---|---|
| Decorated Sugar Cookies (DIY Kit) | $10 for 12 cookies |
| Candy Necklace Station | $8 for 12 necklaces |
| Mini Cupcake Jars | $12 for 8 jars |
DIY Packaging Concepts: Charming Wraps and Boxes

When you dress up your party favors with lovely packaging, you grab attention and turn each little gift into a keepsake with heart. It’s like giving your friends a tiny piece of your care, making every favor feel extra special at your big friendship party.
Imagine adding a printable topper with a digital template, which gives it a neat and personal vibe. Or perhaps a fabric pouch made from cheerful, colorful scraps, adding a playful twist. You might even tie a simple tag with twine for that cozy, homemade feel, or jazz up a small favor box with pretty washi-tape patterns. And don’t forget custom sticker seals with cute designs that secure everything nicely.
Such polished packaging really makes a difference, it boosts the charm and lets your guests feel like they’re getting a truly unique and cherished treat.
Visual Craft Guides for Friendship Celebration Party Favors
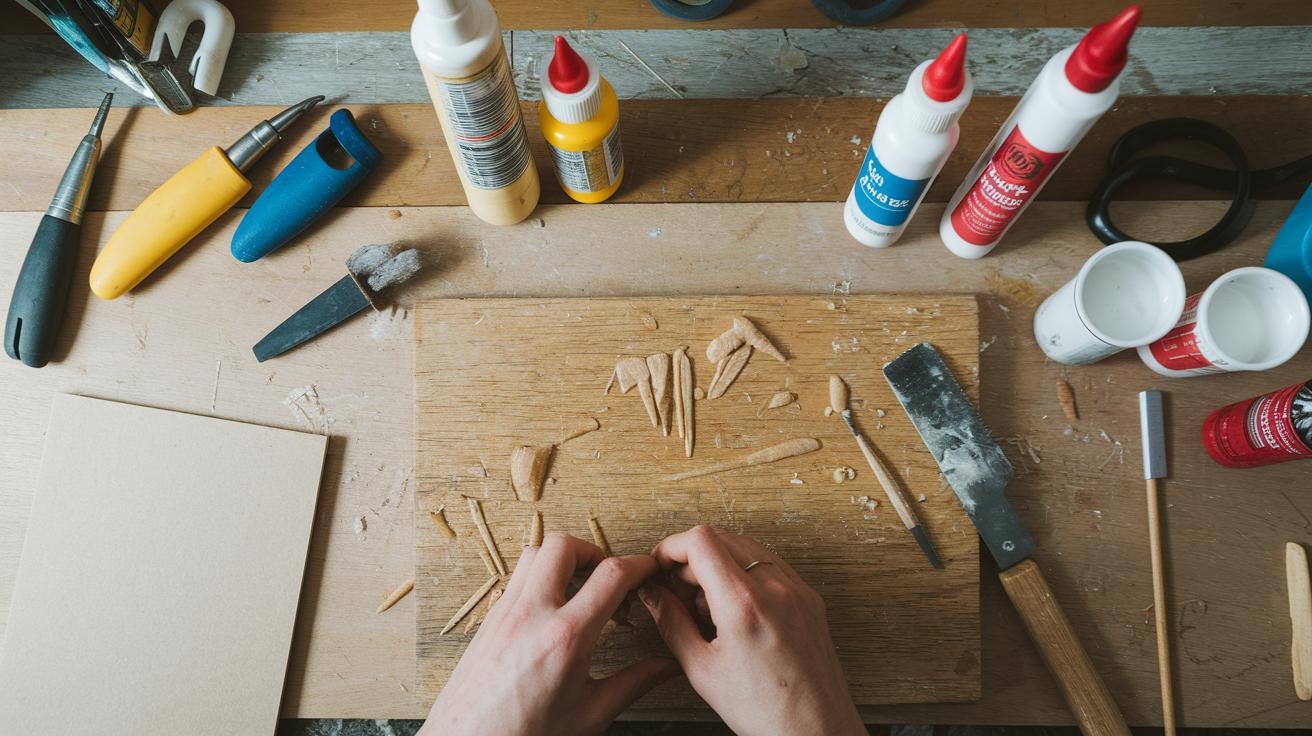
Step-by-step photos and short video clips make everything super clear, almost like a fun story unfolding before your eyes. When you see every phase in action, you feel confident and ready to get creative. These visual helpers quickly clear up any confusion while sparking new ideas, letting you watch your project bloom right before you know it.
- Overhead shots – Snap a wide view of your entire workspace so you and your friends can see where every tool and material should go.
- Close-up details – Get a tight shot of those tricky bits like applying glue or intricate carving, so you know exactly how something should look.
- Step labels – Use friendly, simple labels along the way. For instance, "Apply glue lightly here" gives you a quick, easy tip without any fuss.
- Short video snippets – Record little clips that catch the movement, making it much easier to copy the steps at home.
Setting up a crafting area with clear labels at home makes it much easier for your guests to join in. And why not plan a group craft night? It’s a great way to bond and share a laugh. For extra inspiration, check out more fun friendship activities at https://thefriendshipday.com?p=1250. These visual tools not only clarify each step but add a joyful, interactive twist to your whole crafting adventure.
Final Words
In the action with DIY kits kicks off a fun exploration of friendship celebration party favors DIY. The post shared easy craft ideas from ready-made favor sets and handmade mementos to creative keepsake projects and clever packaging tips. Each step offers a chance to add personal touches and bright colors to every friendship festivity. It’s all about sparking laughter, sharing smiles, and making every detail a warm reminder of what makes friendship so special. Enjoy every moment as you create memories that light up your gatherings.